In a previous post (InfoPath – Link to a list item from a URL) i detailed how to open a list item directly from a URL in a form. In some cases (actually many cases) it may be necessary to fill out the new form with data that comes from the calling form. For example, if you are adding attachments, you may want to pre-define the key of the ‘parent’ list
Basically, the ‘calling’ form defines a URL that includes as it’s suffix a parameter that specifies the data that is to be used when pre-populating the form. Also, when the user clicks on the URL, the system will use the ‘Query String (URL) filter’ Web Part to pass this value to an ‘InfoPath Form’ Web Part
Here are the steps involved
Define a field in your calling form to hold the URL you will use
In my example I added a text field called ‘URLAttachment’ as shown below
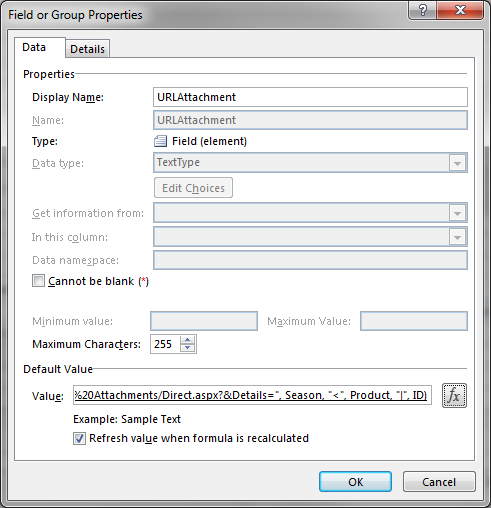
Click on the fx button to open the Formula dialog box and specify the formula as follows
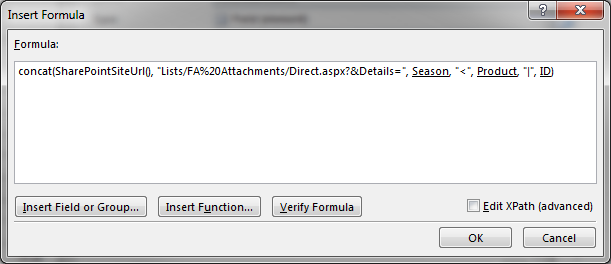
Key values in this formula:
|
Lists/FA%20Attachments |
This is the name of the list that you would like to link to and open with pre-populated data. My list name is ‘FA Attachments’ |
|
/Direct.aspx |
The name of the view that the URL must open followed by .aspx. We will define this view later, but if you choose a different name in SharePoint, you will need to modify this value as well |
|
&Details= |
This specifies the name of the parameters that are being passed. In my case, I call these values ‘Details’ (This name will be used later in the Filter (URL) Web Part) |
|
Season,”<“,Product,”|”,ID |
The value of the ‘Details’ parameters. Since the ‘Details’ parameter passes a single string value, I concatenate my data using ‘<‘ and ‘|’ as delimiters so that I can easily separate the Season, Product and ID from the passed value in the called list. In the online documentation you will notice that it is not a simple task to pass multiple parameters and concatenating all your parameters into a single passed value makes it a simple task
Note. Be aware that WordPress modifies the standard quotation marks based on the display (not edit) font, so if you are cutting-and-pasting, you will need to change them back to standard format |
Add a hyperlink field in your form
Add a hyperlink field in your form to link to this URL.

Select the INSERT tab, then click on the Hyperlink button and a screen similar to the following will be displayed
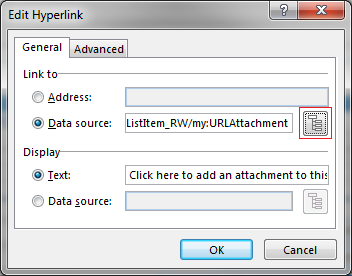
Select the ‘Data source’ radio-set and then use the ‘Select XPath’ button (highlighted above) to select the URL Field (in our case ‘URLAttachment’). Type some text into the Display Text fill-in so that it is clear that the user needs to click on this hyperlink to add an attachment
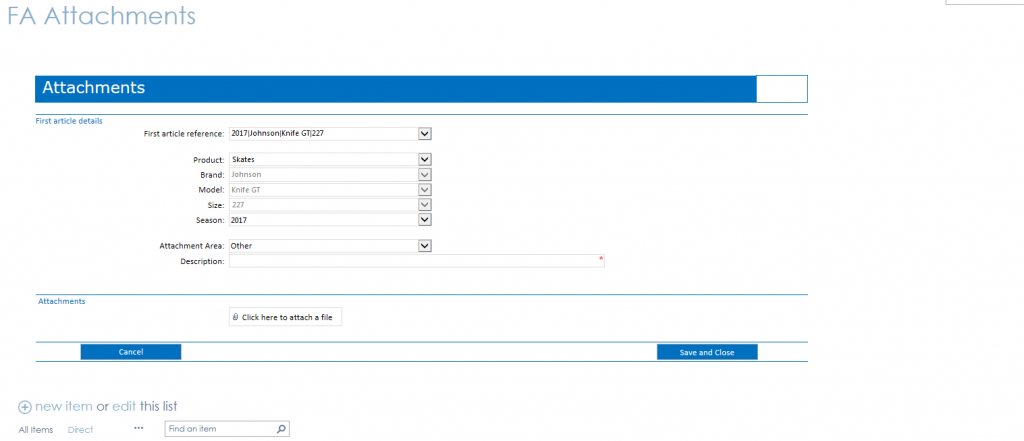
Your form will now display a Hyperlink to the appropriate list item as shown below in this section pasted from the form
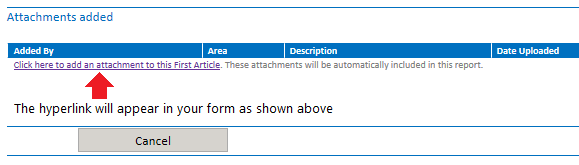
The changes to the calling form have been completed – we now need to make some changes to the called form and the page in which it will be displayed
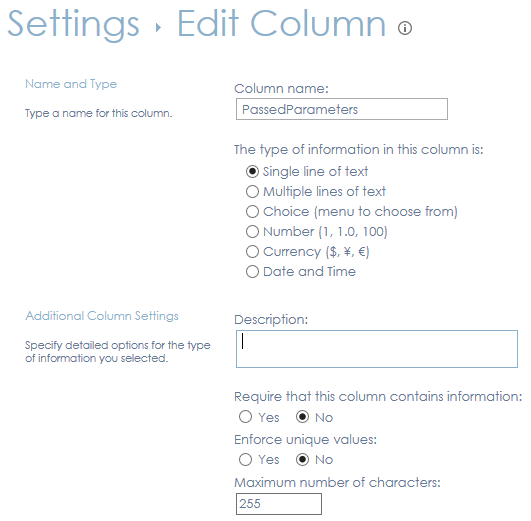
Add a field to the ‘called’ List that will ‘contain’ the parameters that will be passed in the URL
Create a text field in the list that will be used to contain the passed parameters (this field will not be used for anything else – read my blog on InfoPath – Temporary fields in InfoPath form if you do not want to define additional fields in your list). In my case I created a single line of Text field called PassedParameters as shown below
Define Rules for the field in the ‘called’ form
I then add the field to the called form and add the following rules
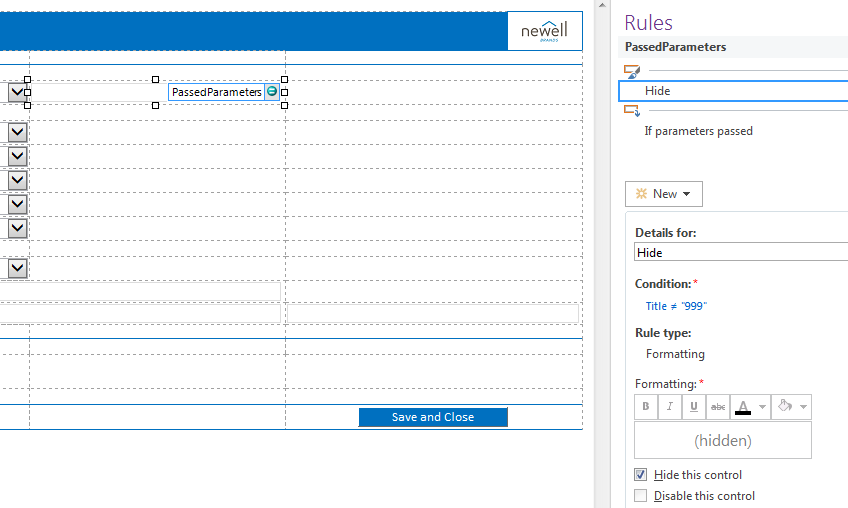
Formatting Rule to hide the field
I add a simple formatting rule that will always be true to hide the field as follows (Initially you may want to display the values in PassedParameters to make sure they are coming across correctly – in this case you can add the ‘Hide’ rule to the form after everything is running correctly)
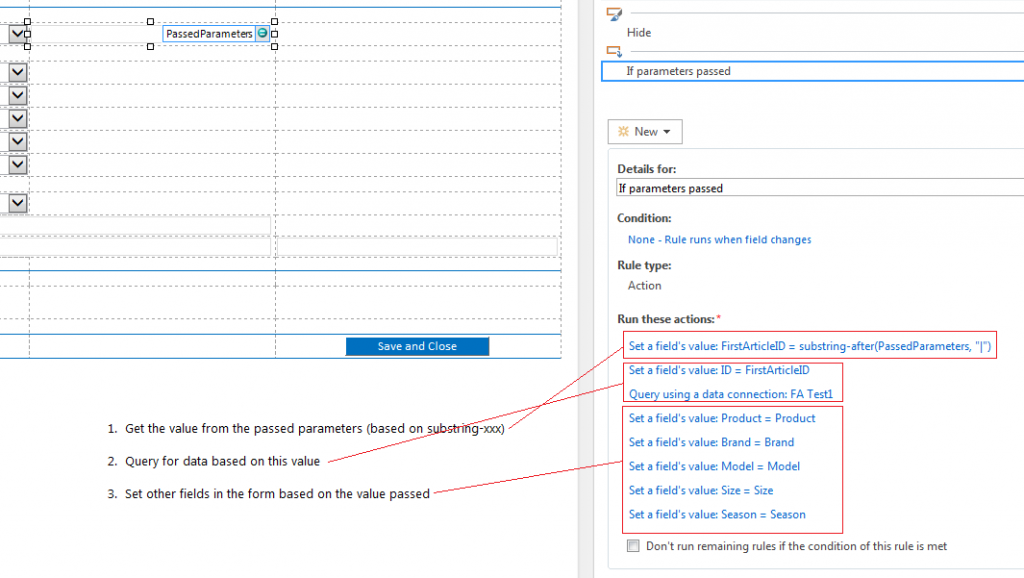
Action Rule to update data when PassedParameters changes
The PassedParameters field will be automatically updated later, but in the form we need to decide what to do with the data it receives. In my case, I use the InfoPath substring-after function to get the ID of the document that this attachment relates to. With this value I can then query the list and set the default data in the form as shown in the screen shot below
Create a view on the list specifically for the URL
In SharePoint, create a view on the ‘called’ list that the URL will call. In my case, I named the view ‘Direct’ (To match my URLAttachment defined in the calling InfoPath form). Initially the View will look something like this (perhaps with some data underneath the headings):

Add the necessary Web Parts to your screen
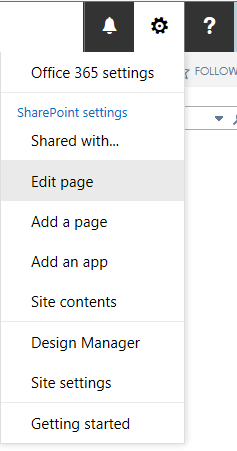
From the Setting (Gear) icon, select ‘Edit Page’ as shown below
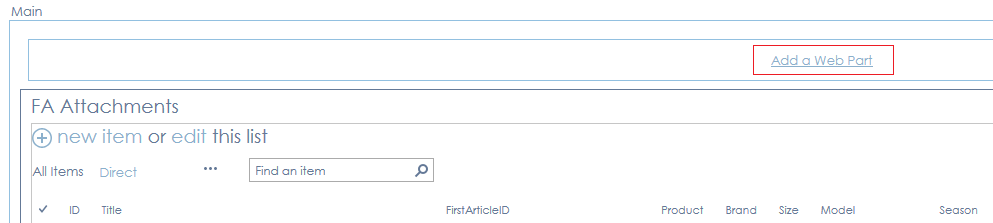
This will open a screen that looks similar to the following. Click on the ‘Add a Web Part‘ link
A screen will be displayed:
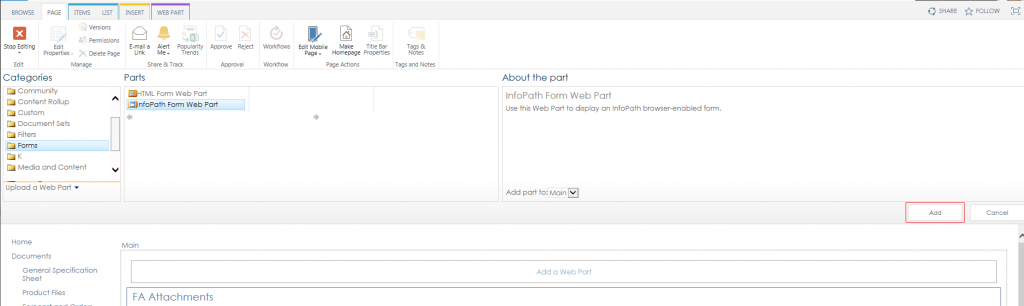
In the ‘Categories’ section, select ‘Forms’ and then choose ‘InfoPath Form Web Part’. Click on the ‘Add’ button and the InfoPath Form Web Part will be added to your screen as shown below
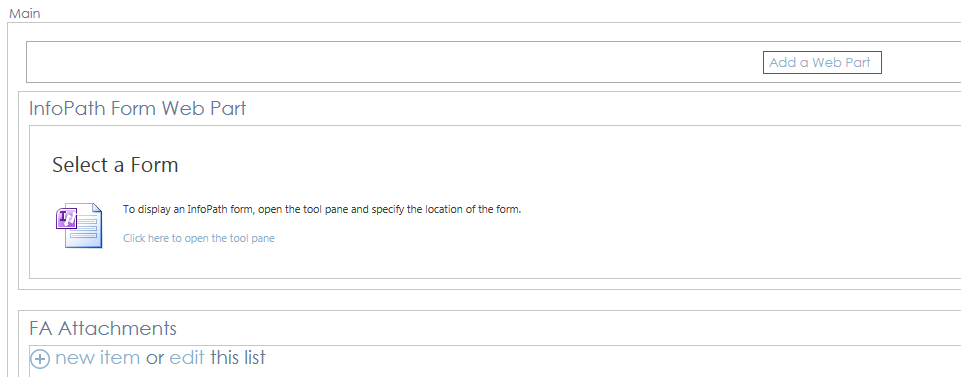
Ultimately, this Web Part will display your form. Now we need to add another Web Part to the screen that will move the Parameters from the URL to the PassedParameters field that we created earlier. Click on the add button again as shown above and a screen similar to the following will be displayed
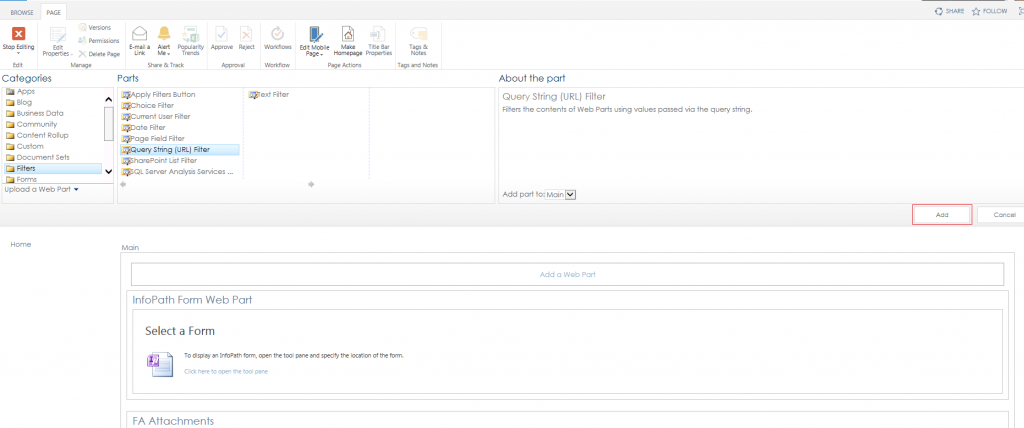
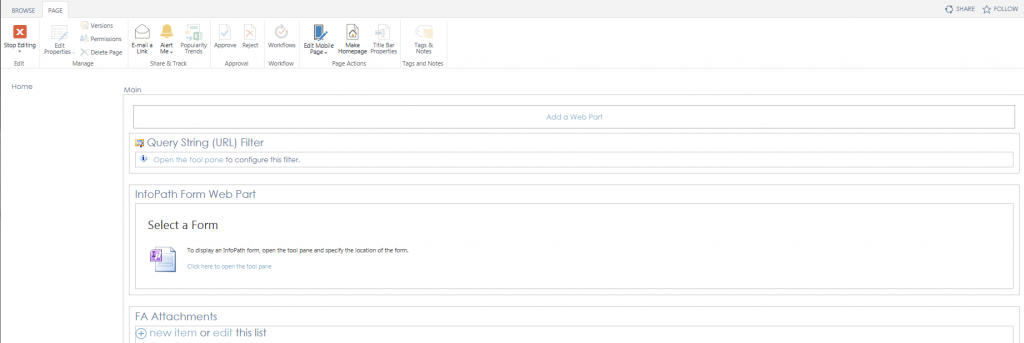
In the ‘Categories’ section, select ‘Filters’ and then choose ‘Query String (URL) Filter’. Click on the ‘Add’ button and the Query String (URL) Filter Web Part will be added to your screen as shown below
Configure the Web Parts to update the PassedParameters field
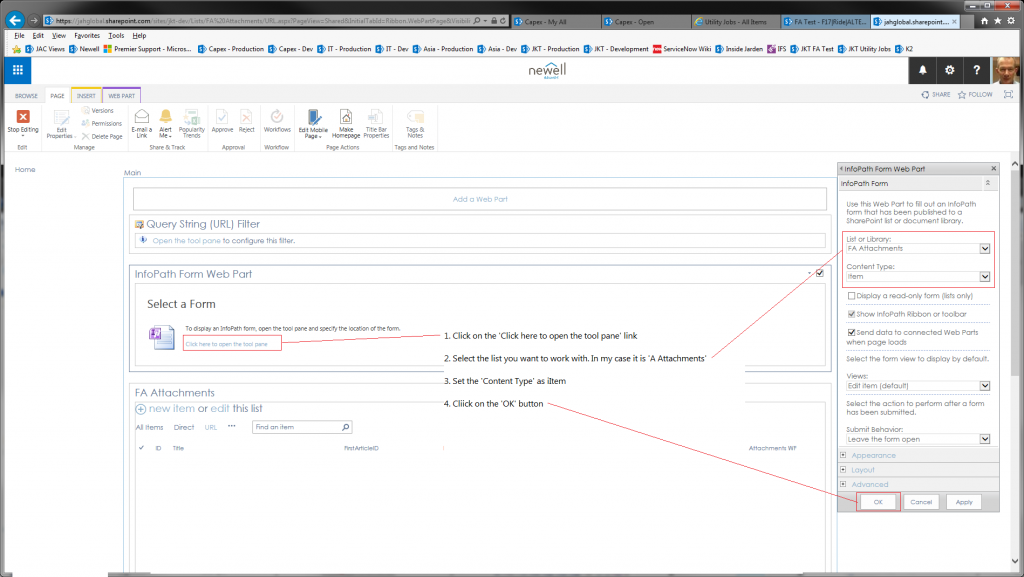
We now need the web parts to talk to each other. In the InforPart Form Web Part, click on the ‘Click here to open the tool pane’ link. A window will open on the right of the screen. In this window, set the List or Library to the list item that is being called (in my case this is FA Attachments) and set the ‘Content Type’ to ‘Item’. Leave all the other fields defaulted and then click on the ‘OK’ link at the bottom of the window to save your changes.
Once you click OK, you will notice that the input screen of your list is displayed as shown below
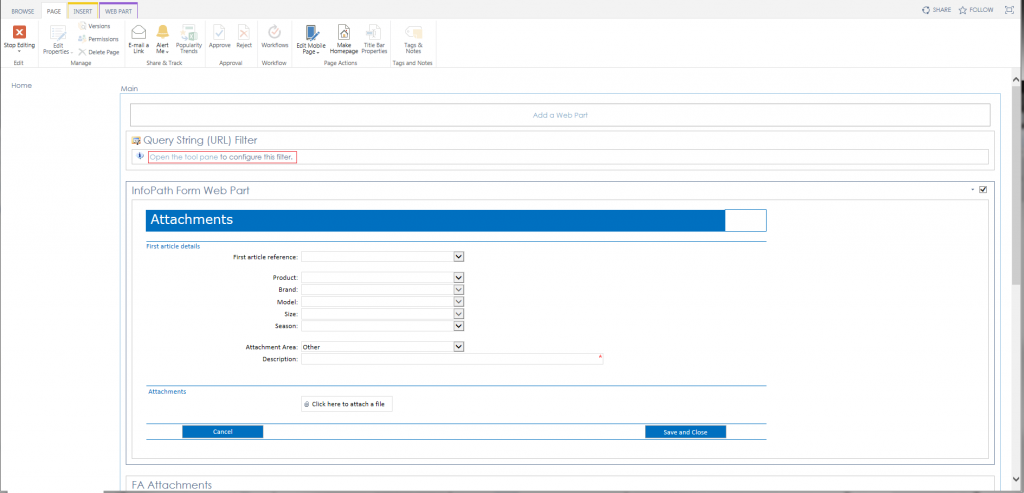
Now that the InfoPath Form Web Part has been configured, we need to link the passed URL parameters to this form. Click on the ‘Open the tool pane’ link (Shown in the image above highlighted with a red border). A Screen similar to the following will appear
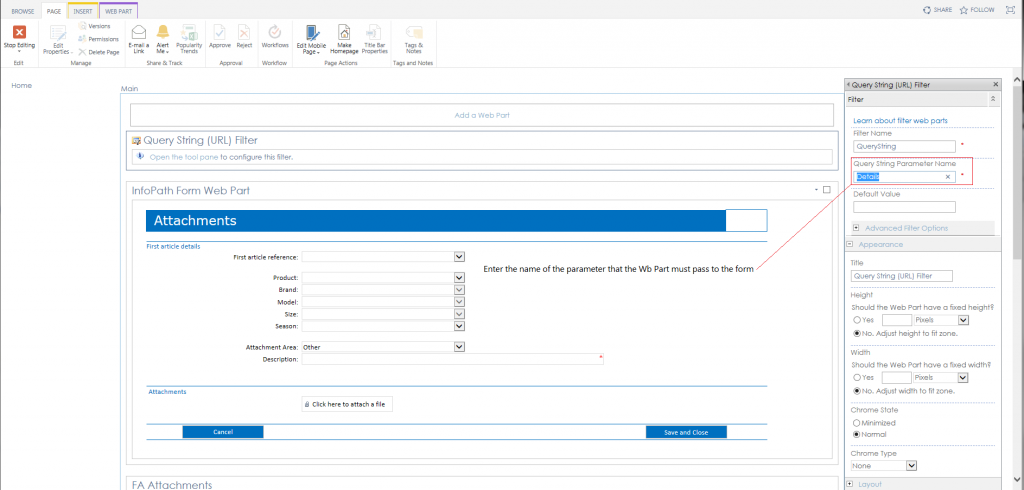
In the ‘Query String Parameter Name’ enter the name of the parameter that you want to pass to the InfoPath form. In our case, the data we wish to pass (to PassedParameters) is all contained in the parameter ‘Details’. Leave the other fields as they are and click ‘OK’ and the Query String (URL) Filter will change slightly and display a message that the filter is not connected. This is expected
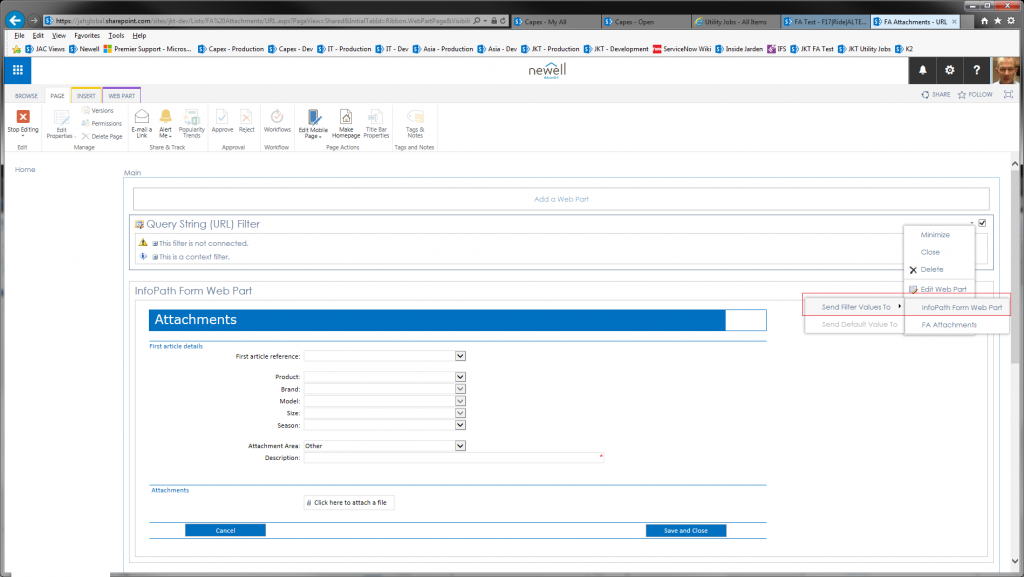
Now, let’s connect the filter. In the top right of the ‘Query String (URL) Filter there is a small drop down indicator. Click on this indicator and you will notice that the menu has a ‘Connections’ option. Select ‘Connections’, then ‘Send Filter Values To’, then ‘InfoPath Form Web Part’, and a screen similar to the following will appear. Select the field ‘PassedParameters’ that we defined earlier (you will notice that other fields from your list are also available)
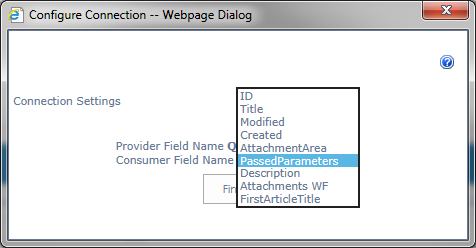
Click on ‘Finish’.
The job is completed and the ‘Called’ form will now open automatically with the pre-populated data when the link in the ‘Calling’ form is selected
Open your calling form
You are ready to test. Open your ‘Calling’ form and click on the link you defined and the ‘Called’ form should display as shown below (names and places have been changed to protect the innocent!)