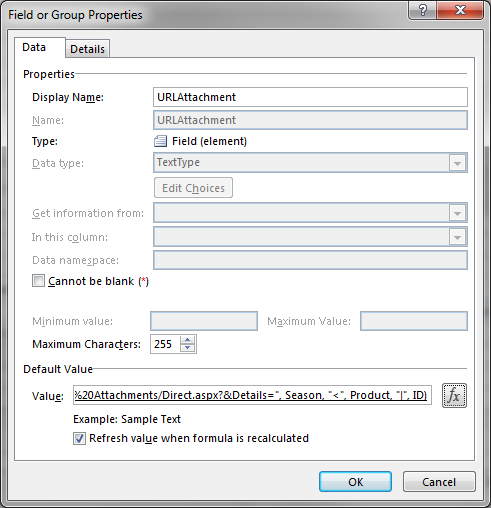
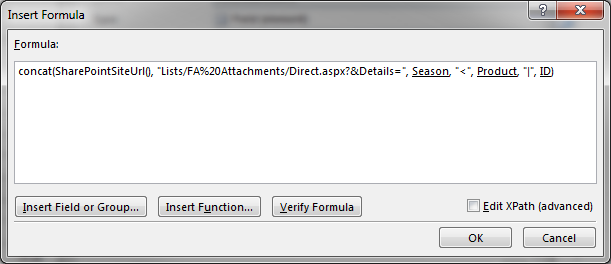
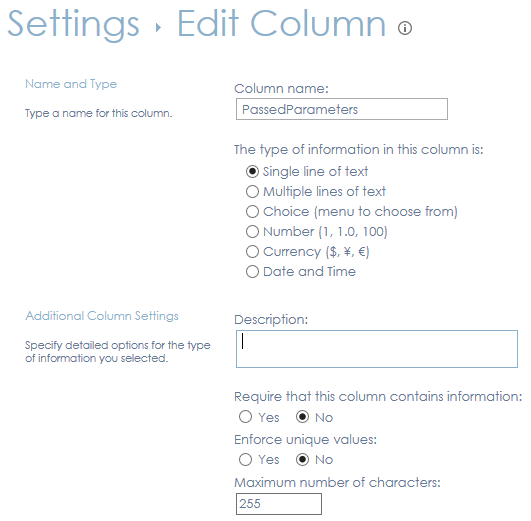
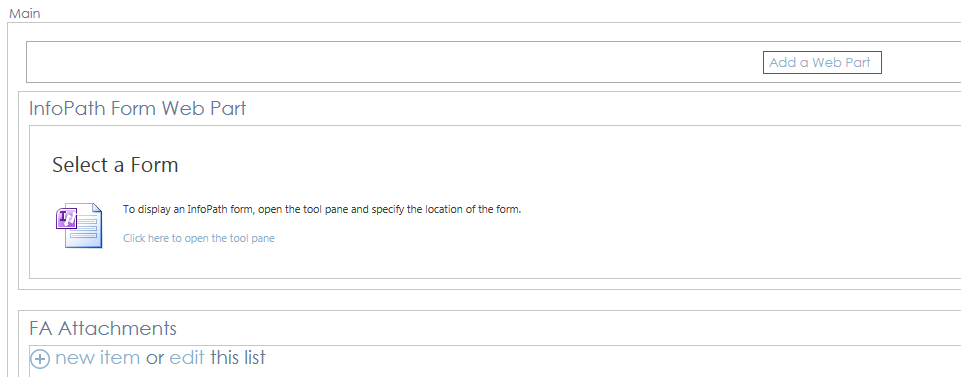
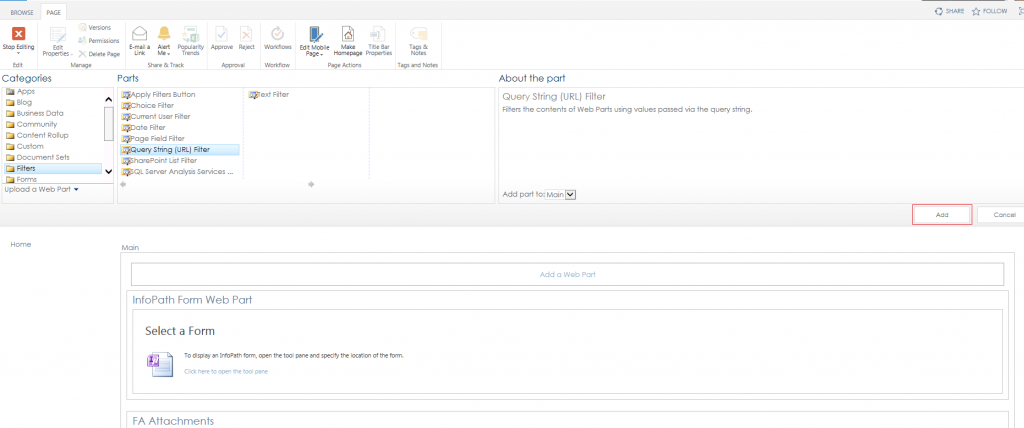
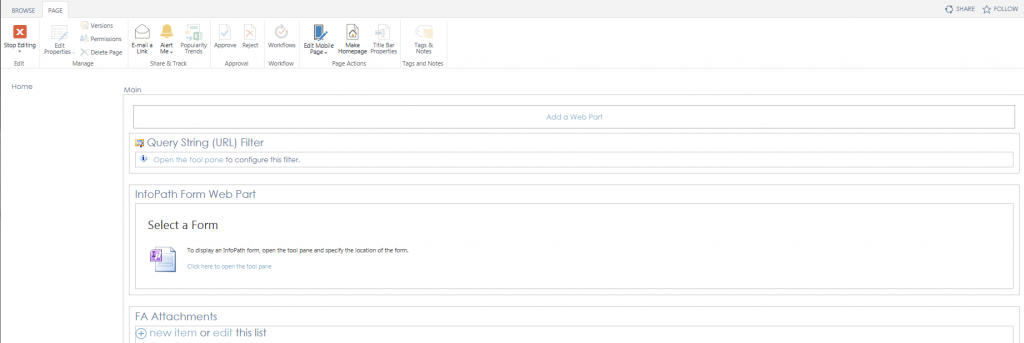
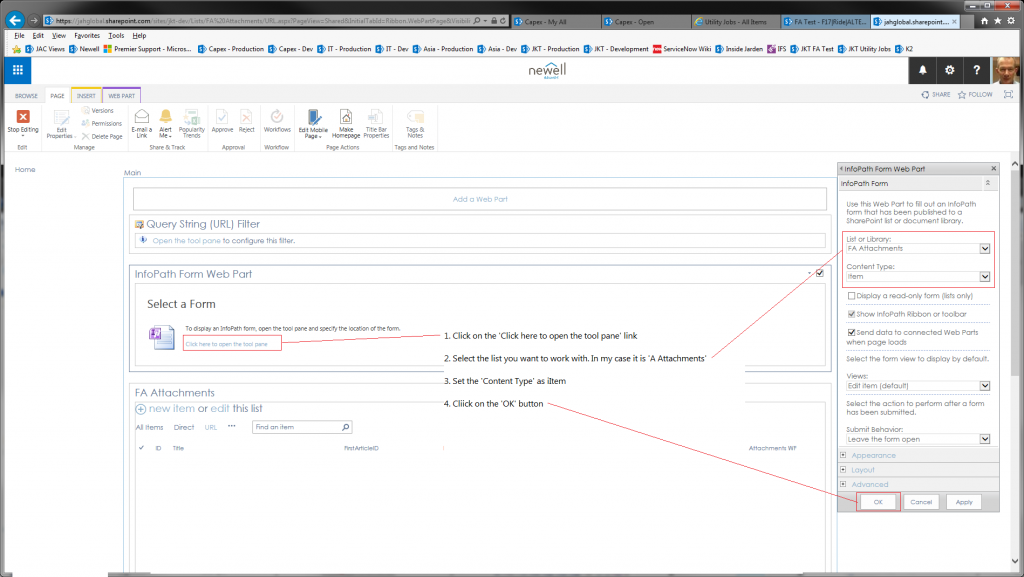
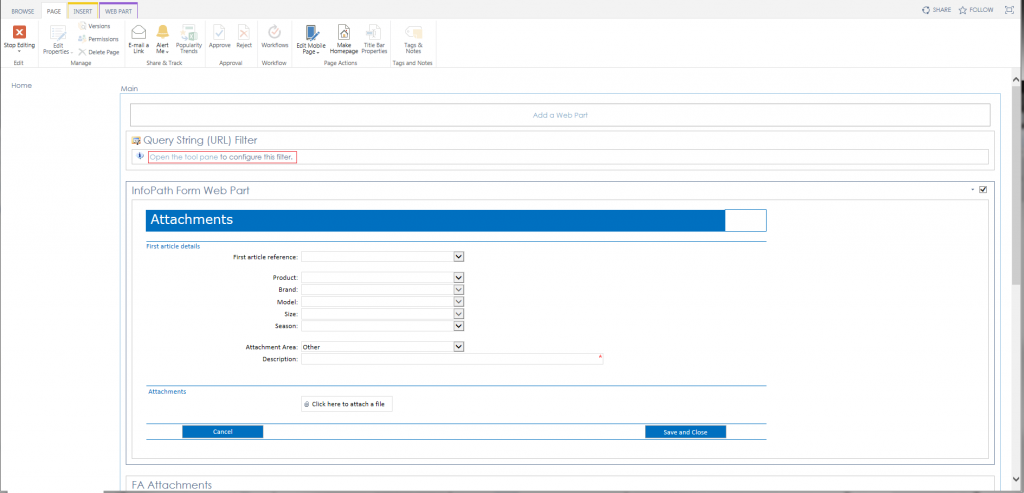
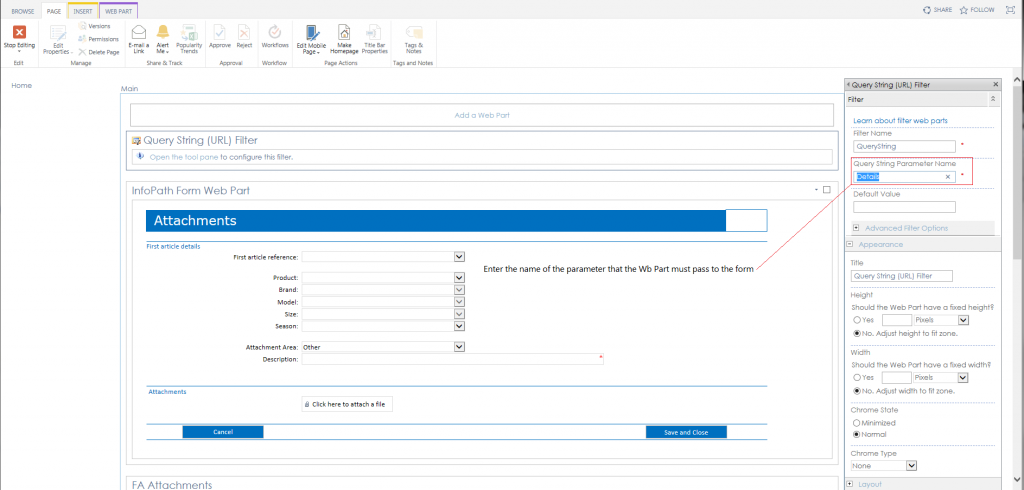
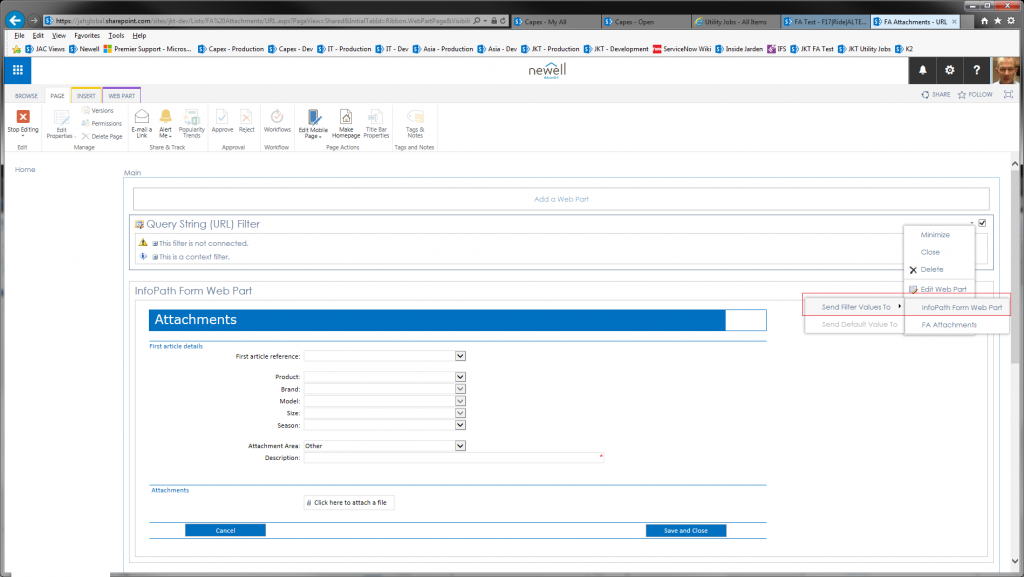
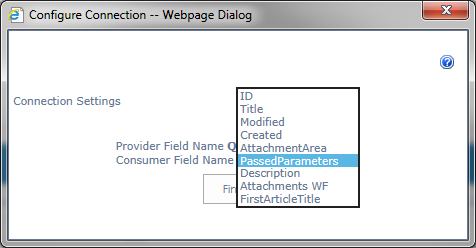
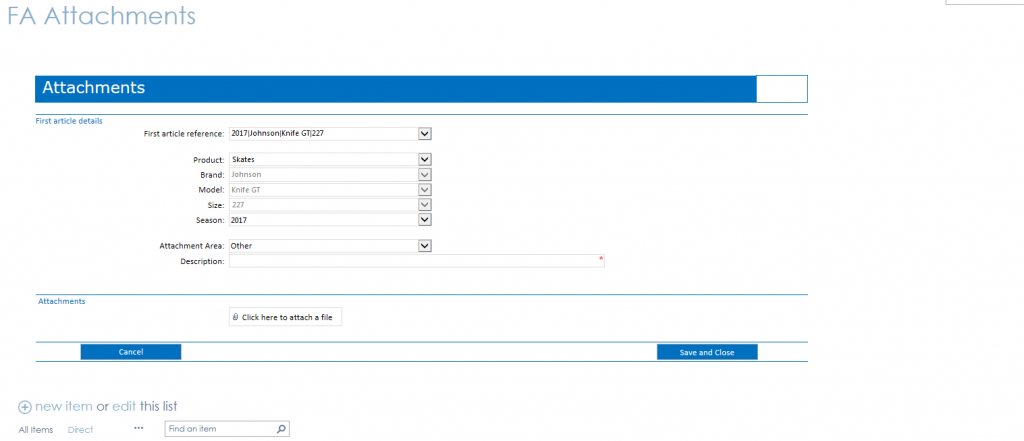
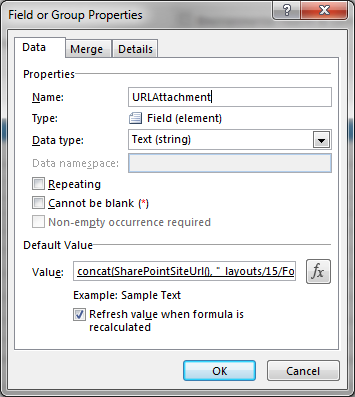
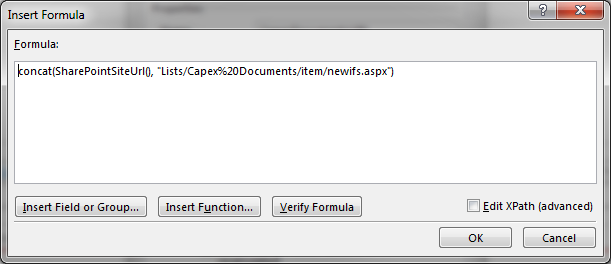
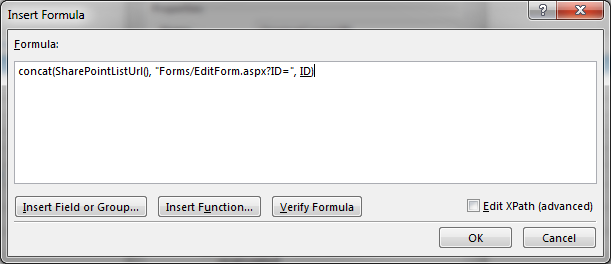
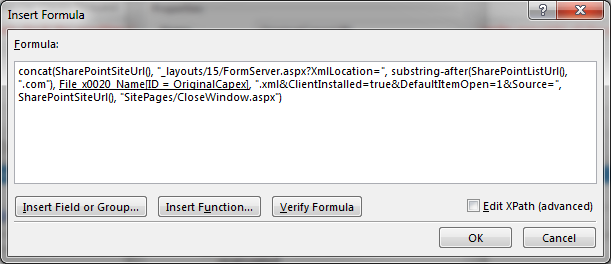
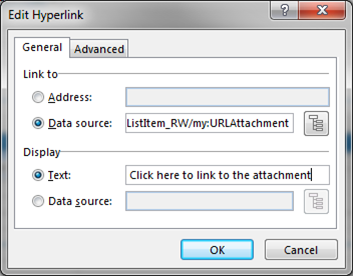
InfoPath has a limit on the file size when publishing forms to a document library. In some cases the combined size of the files embedded into the form can exceed this limit. To work-around this issue, consider creating an additional document library that allows the user to add documents with a link to the form. Then, in your form create a Data Connection to this table to show the attachments and allow the user to click on the hyperlink to the attachment. If you are feeling adventurous, add another link that connects directly to the SharePoint List in Add Mode, and pre-populates the key fields in the attachment List item using an Info-Path Web Part (See the link InfoPath – Prepopulate a list item from a URL)
Category : InfoPath
InfoPath – Consider saving the form and possibly workflow version
In most companies development is ongoing and applications tend to grow horns and tails as users and developers become familiar with existing functionality and require enhancements. This can be a problem especially when working with workflows since although the InfoPath form has changed to the new release, the workflow is still functioning with an older instance. This could mean that functionality in the form is not available in a workflow, since for example, it is only expecting Outcomes 1 through 3, but the form is now providing Outcome 4.
I have found it convenient to develop workflows with the first setting writing the version of the workflow to the SharePoint list (I maintain my own version numbers). That way, when I open the form I will only offer functionality if the workflow version supports it. Alternatively, you can maintain a Form version number and validate against this field
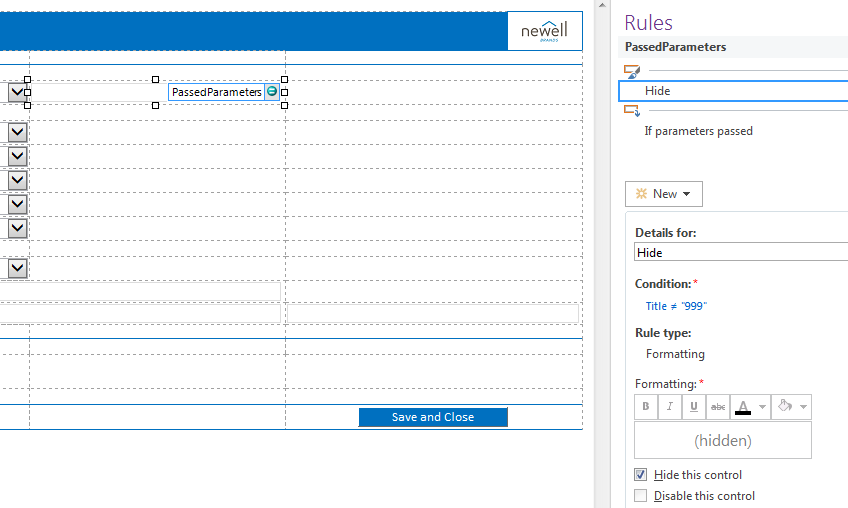
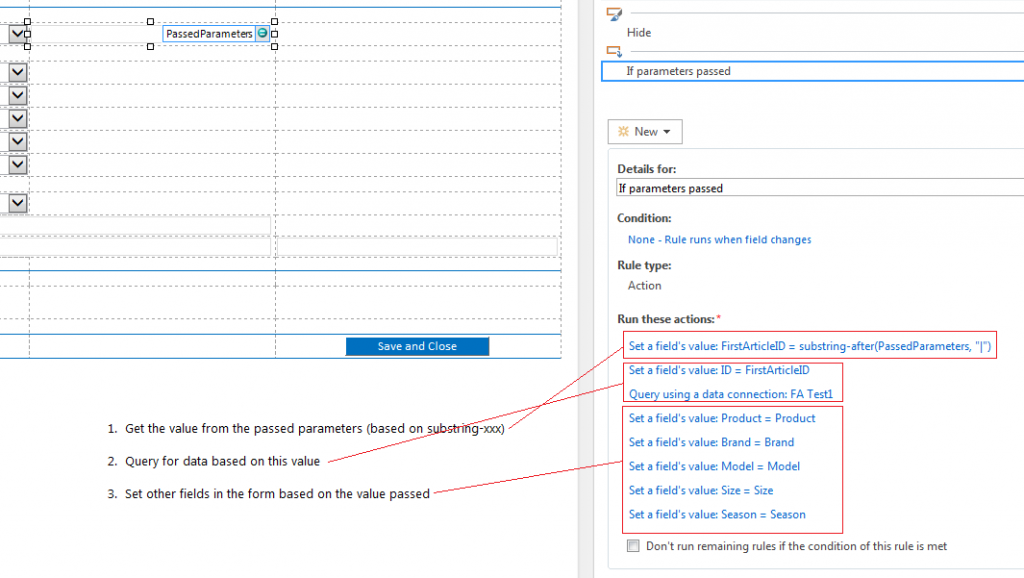
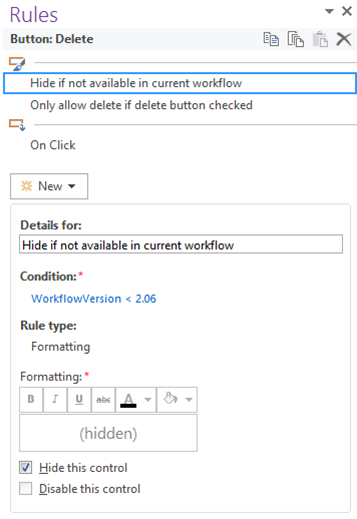
For example, if one only added delete functionality to the system from Version 2.06 onwards, one could create a rule that hid the control so that the user could not select it as shown below
InfoPath – Restart workflows at different stages
In most of my forms that are linked to workflows, I provide the ability for an administrator to restart the workflow at a particular point if needed. This is not only useful in testing situations (since a workflow can skip time consuming steps if they have already been completed), but it provides much needed flexibility in SharePoint where server throttling situations can result in a suspended workflow which needs to be restarted at a previous point.
In this case I maintain a ‘StartFrom’ combo box in my ‘hidden’ view, that if changed sets a value ‘Restart’ to true. If I need to restart a particular workflow at a specific point, I do the following:
- Terminate the current workflow
- Open the form, select the hidden view, and set the ‘StartFrom’ to my starting point
- I then restart the workflow. The first stage checks if the workflow is being restarted and then uses a series of linked stages to decide the point at which to restart the workflow
InfoPath – Use a ‘hidden’ button to show ‘hidden’ fields
It is often useful in a form to hide certain fields that are only used in rules and calculations, however this can make troubleshooting a form with issues difficult since key data may not be displayed. Displaying these values on the form on the other hand can cause confusion with your users.
In these situations I normally create an alternate ‘hidden’ view that displays all fields, which ‘normal’ users do not see. On one or all of the ‘visible’ views I then add a button hidden to all but me (actually, I usually use another field that has a comma separated list of people who can see the button). When this button is clicked, the alternate view opens up and you can examine all values.
As an added benefit this format allows the people who can access the button to modify any fields if needed. This is very useful in that it can allow you restart workflows at particular points or change some data without having to run a new workflow
InfoPath – Using a field to identify Form Load issues
When you open many data connections and perform queries through the ‘Form Load’ functionality in InfoPath, it may be that your form takes long to open. To troubleshoot these issues, you can create a local field in InfoPath and write the rule and time to this field each time an action is performed. When the form finally opens, you can query this field to see where the lag is. Example:
- Separate your Form Load into multiple rules, grouped by logical function such as ‘Getting Initial User Data’ or ‘Query Attachments’
- Add a text field called ‘Log’ and at the very beginning of the first rule, initialize it with something similar to the following:
concat(“Getting Initial User Data:”, string(now()), “,”)
- Then, at the beginning of each subsequent rule, and perhaps sometimes within the rule itself, set the field ‘Log’ to a value similar to the following:
concat(Log, @crlf, “Query Attachments:”, string(now()), “,”)
(Note that the field @crlf which formats the field neatly, originates from an XML Data Connection. See ‘InfoPath – Adding special characters such as line feeds’ for more information on how to do this)
- Display the ‘Log’ field somewhere on your form (I normally add this to a special view that only administrators have access to – the button to open this view is not displayed if the user is not an administrator
- When you view the field, it will have something like the following in it
Getting Initial User Data:2016-05-30T15:54:02,
Query Attachments:2016-05-30T15:54:02,
Query Related Documents:2016-05-30T15:54:02,
Query Item Prices:2016-05-30T15:54:17,
From the above, we can see that there is a problem with the Query on Related Documents since it is taking almost 15 seconds to process based on the time that the ‘Query Item Prices’ is starting
InfoPath – Getting data from a spreadsheet into InfoPath
Data in an Excel sheet is unstructured and often split across multiple tabs. The users I was dealing with were flexible enough to use a couple of cut-and-pastes from Excel into spreadsheet to get this option working. This is what I did to allow the users to import the data:
Setup
- Create a separate folder in the Excel spreadsheet for importing the data, called ‘SPImport’.
- In row 1, add column headings for each cell that you wish to import. This is so you can easily identify which property is in which cell
- In row 2, add a regular Excel expression to point to the cell that contains the data (examples: =Data!A16, =Data!D24 etc.). You can add some additional functions in the row to strip of unneeded characters that could cause a problem in SharePoint loads, including hidden spaces, linefeeds, forward and backward slashes, quotation marks etc.
- You will probably need to make a couple of the fields ‘key fields’, meaning that they will contain values that uniquely identify the import
- In the end you will have a single row of data that will auto populate with the referenced cells values. This spreadsheet should then become the master spreadsheet for the data
- Now, create a SharePoint list, say called ‘SPExcelImport’ that contains the same columns as your spreadsheet and the default Datasheet view in exactly the same format. You may choose to auto populate the Title field or use it to hold one of the values you intend to import.
- In your InfoPath form, create a Data Connection to the ‘SPExcelImport’ SharePoint list, provisioning all the fields
- In my form I added an ‘Import Button’ that was only enabled when I can find an entry in the ‘SPExcelImport’ list with matching key fields
- When the user clicks on the Import button, set the values in the form to the values in the import file (I was dealing with over 100 fields in my example, so I split the Action on the Import button into multiple rules)
Operation
- The user completes the spreadsheet
- The user opens the ‘SPImport’ folder, highlight the cells in Row 2 that are needed and selects Ctrl-C to copy the data (They should not highlight the entire row as this will attempt to copy all the columns in the row into the spreadsheet and the user will receive an error)
- The user opens the ‘SPExcelImport’ table with the cursor on the first cell and presses Ctrl-V to paste the copied values into the SharePoint list. This will paste the cells from the spreadsheet into the SharePoint cells (Sometime, you may find that it copies all the data into a single cell. When this happens, tab out of the cell, shift-tab back in and do the copy again). Stop editing the list
- The user then opens the InfoPath form and enters the key data in the header. InfoPath queries the ‘SPExcelImport’ list with the key data and if an entry is available, enables the import button
- The user then clicks on the Import button to import the data
InfoPath – Preventing updates to the form when the workflow is updating
This applies to lists that are linked to workflows. Since the workflow and InfoPath form are separate processes, it is possible that users can update the form while the workflow is processing data. This ability to update the form gives the user the impression that the updated data is considered and while this is true in some cases, it can be an issue if the workflow is only initiated when items are added to the list, as the workflow may be running based on previous values
To prevent this from occurring, I use a promoted field called ‘Updating’ in the form to test whether the workflow is in the process of updating. When the workflow is updating information, this value is set to ‘true’. When the user opens the form during this stage, the forms checks this value and if it is set to ‘true’, the updating buttons (such as ‘Approve’ or ‘Reject’) are disabled, thus preventing the user from making any adjustments. Additionally, a message can be displayed to inform the user that an update is happening. I normally set this value in the form itself since I am aware than an update is about to occur. This is necessary as the workflows take time to start, and the user could open and update the form prior to the workflow setting this value
In my workflows whenever an update is required from the user, the promoted field ‘Outcome’ is set to 0 and the field ‘Completed’ is set to ‘false’. When the user selects a button to approve or reject the data, the system sets this value to 1 or 2 and sets another field ‘Completed’ to ‘true’. This indicates that an update has been made (based on the workflow action ‘Wait for Field Change in Current Item’) and the workflow can resume and make decisions using the chosen selection.
InfoPath – Hyperlinks with ‘Page not found’ or how to deal with URL’s with spaces
InfoPath will allow you to display links to external files (such as attachments in a list accessed through a Data Connection), but if those URL’s have spaces in them (as many user files do), it could be that when you click on the link you get the ‘Page not found’ message as shown below

This could be happening because you have used the Hyperlink found in the Control Tools instead of the Hyperlink found in the ‘INSERT’ tab in InfoPath. Pretty weird! Anyway, use this method to make sure your linked content displays correctly
Create a Data Connection link to the table that has the attachments.
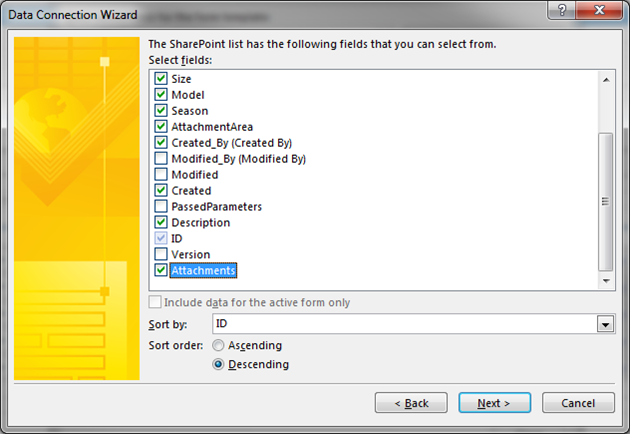
Make sure to select the attachment in the list of fields as shown below
Drag the table onto your form to create a Repeating Table control

Arrange the columns
Arrange the columns in the format you want and delete any unneeded columns like the ID AND the attachment column (You delete the attachment column as we will add it later and you do not want duplicate links, especially ones that do not function correctly). Insert a column to the Left or Right at the point where you want the Hyperlink. In the image shown below, you will notice that the last column, which I titled ‘Attachment link’ is empty. Your form should look similar to the following

Create the Hyperlink
Place your cursor in the empty cell in the repeating table, switch to the INSERT tab and select the ‘Hyperlink’ button …
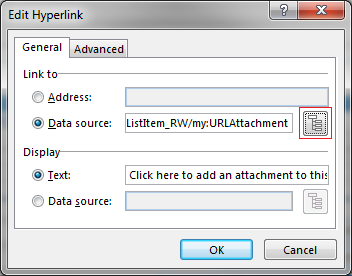
This will open up a dialog box for you to complete as follows
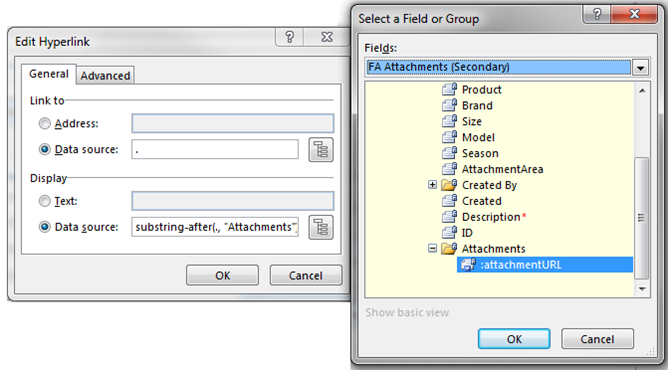
In the dialog box for the Link to section, select ‘Data source’ and link the Data Source to the attachment as shown above (in most cases the system will automatically default to the attachments
In the display selection you will probably want to select ‘Data source’. You can then use the Field selector to display the attachment URL or some other detail available in the data connection, or you could use a formula similar to the one below to reduce the size of the URL and only show the last section
substring-after(.,”Attachments/”)
This formula will show the portion of the attachment that follows ‘Attachments/’ – in this case the file name associated with the attachment. This is useful since you do not want to display a URL that is a mile-long and that the users will have problems understanding
Publish the form
Publish the form, and when you click on the link, the image should display with no error
