InfoPath – Borders appearing when they should not
When the subsequent row in an InfoPath table has fewer columns than the preceding row, the system may automatically add in a border where none is defined. This can manifest itself when the designer is simulating selection tabs at the top or bottom of the form to allow the user to select a page view. In short, to get around this issue, ensure that both preceding and subsequent rows have the same format and number of columns
For example:
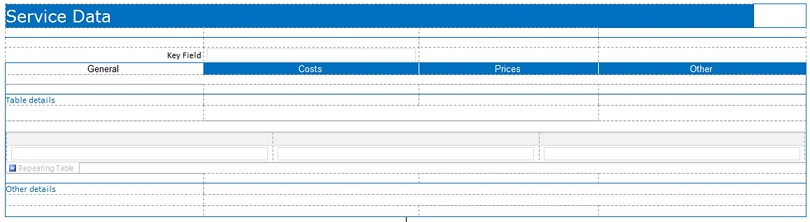
The form is designed similar to the following figure. Notice that the row with the headings (General, Costs, Prices and Other) has 4 columns, while the row below only has 1 column
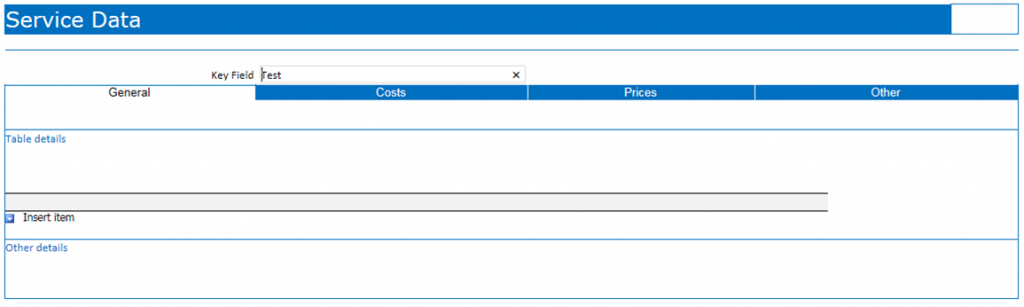
When you preview the form it displays correctly, as though the page for ‘General’ is ‘open’
However, if you open the form in the Browser, it sometimes adds an extra border as shown below under the ‘GENERAL’ text

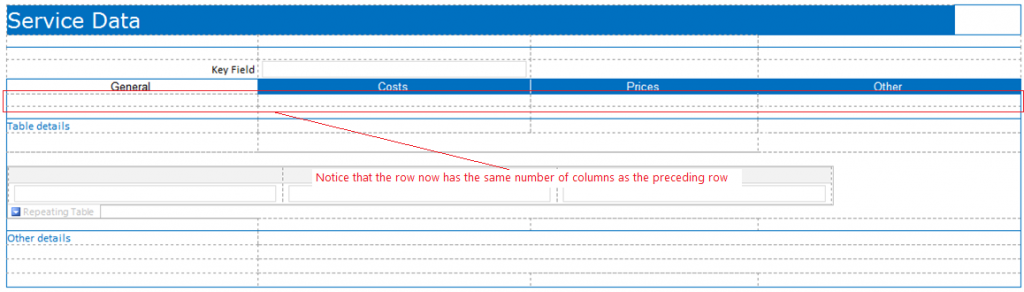
To correct this problem ensure that the row following the tab row has exactly the same column layout as shown below (I have found that this problem occurs when you make formatting changes anywhere on the form AFTER you have defined the Tabulated row).
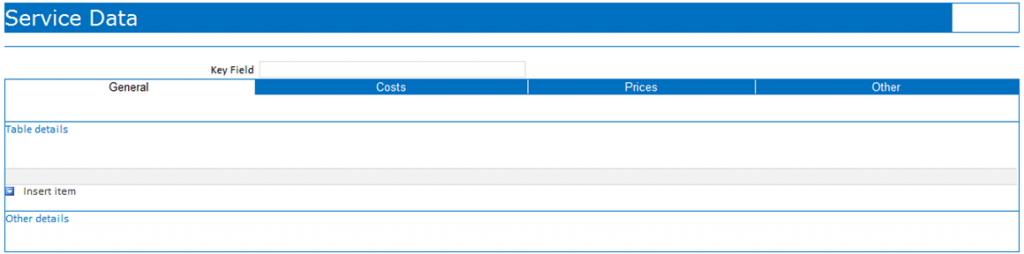
Correct all your borders and publish the form which will now open with the correct borders as shown below